So, you’re diving into the world of nail drill bits, huh? Well, one thing you’ll quickly learn is that not all drill bits are created equal. The grit size, which is basically how rough or smooth the bit is, plays a big role in how well it works for different tasks. Whether you’re shaping acrylics or just smoothing out natural nails, picking the right grit size is super important. It’s like choosing the right tool for the job—get it wrong, and you might end up with a mess. Let’s break it down so you can make the best choice for your nail needs.
Key Takeaways
- Grit size determines how rough or smooth a nail drill bit is, affecting its performance.
- Choosing the right grit size is crucial for different nail tasks, like shaping acrylics or smoothing natural nails.
- Using the wrong grit size can lead to unsatisfactory results or even damage to nails.
- High-quality drill bits with the right grit size can make nail care easier and more efficient.
- Regularly replacing and maintaining your drill bits ensures they perform well and last longer.
Understanding Grit Size in Nail Drill Bits
What Is Grit Size?
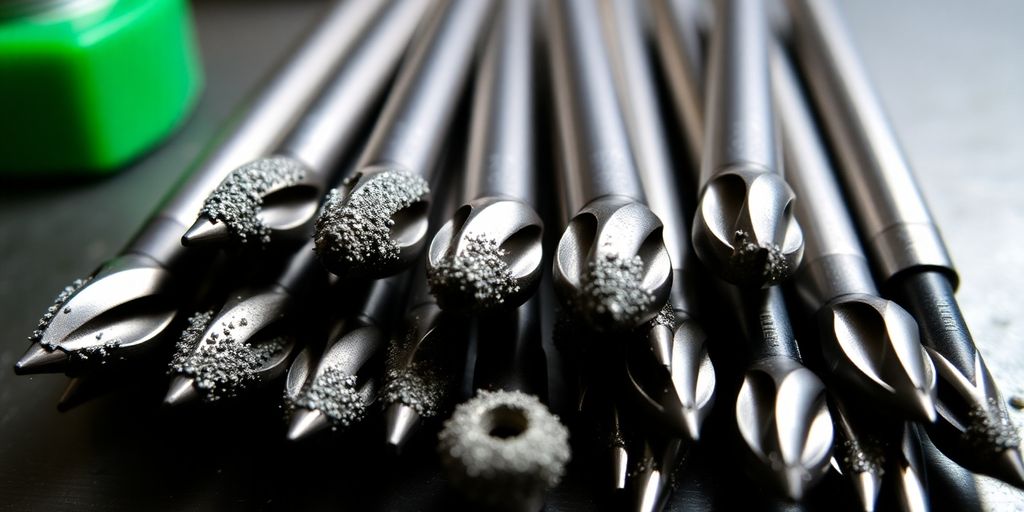
Grit size in nail drill bits refers to the number of abrasive particles per square inch on the bit. Imagine sandpaper—it’s similar. The higher the grit number, the finer the particles, and vice versa. Grit size is crucial because it determines how much material the bit can remove. For instance, a coarse grit (like 80) is used for heavy-duty tasks like removing thick acrylics, while a fine grit (like 240) is used for smoothing and refining.
Why Grit Size Matters
Choosing the right grit size is all about matching the task at hand. Using a grit that’s too coarse on natural nails can cause damage, while a grit that’s too fine might not be effective on tough surfaces. Here’s a quick guide:
- Coarse Grit (60-80): Best for removing hard gels or acrylics.
- Medium Grit (100-180): Ideal for shaping and smoothing artificial nails.
- Fine Grit (240 and above): Perfect for polishing and finishing touches.
How Grit Size Affects Performance
The performance of your nail drill bit is directly linked to its grit size. Coarse bits can remove material quickly but may leave the surface rough, requiring additional smoothing steps. Fine grits, on the other hand, provide a smooth finish but take longer to achieve the desired result. It’s all about balance and knowing when to switch between grits to get the best outcome.
Choosing the correct grit size is like picking the right tool for a job—it can make your work easier and more efficient.
For those looking to explore a variety of high-quality nail drill bits, understanding grit size is essential to making the right choice for your needs.
Choosing the Right Grit for Your Needs
Matching Grit to Nail Type
Picking the right grit size is like choosing the right tool for the job. Different nails need different grits, and using the wrong one can mess things up pretty quickly. For natural nails, you want to go with a finer grit, like 240. It’s gentle and won’t damage the nail bed. But if you’re dealing with acrylic or gel nails, a coarser grit, such as 80, is your best bet. It helps in shaping and removing the material efficiently. Remember, the goal is to be effective without causing harm.
Grit Recommendations for Different Tasks
Here’s a quick rundown of which grits to use for various tasks:
- Smoothing natural nails: Go for a fine grit around 240.
- Shaping acrylics or gels: Use a coarse grit like 80.
- Polishing and finishing: Opt for an extra fine grit, maybe 600 or higher.
These recommendations help in achieving the desired results without overdoing it.
Common Mistakes to Avoid
Avoid these common pitfalls to keep your nail game strong:
- Using too coarse a grit on natural nails: This can cause breakage and weaken the nail.
- Not cleaning your bits regularly: Buildup can dull the bit and affect performance.
- Ignoring grit size altogether: Always match the grit to the task for best results.
Pro Tip: Regularly swapping out your bits and keeping them clean can extend their life and keep your work top-notch.
Selecting the right grit is crucial for nail health and achieving professional results. It’s all about knowing what your nails need and using the right tool to get there.
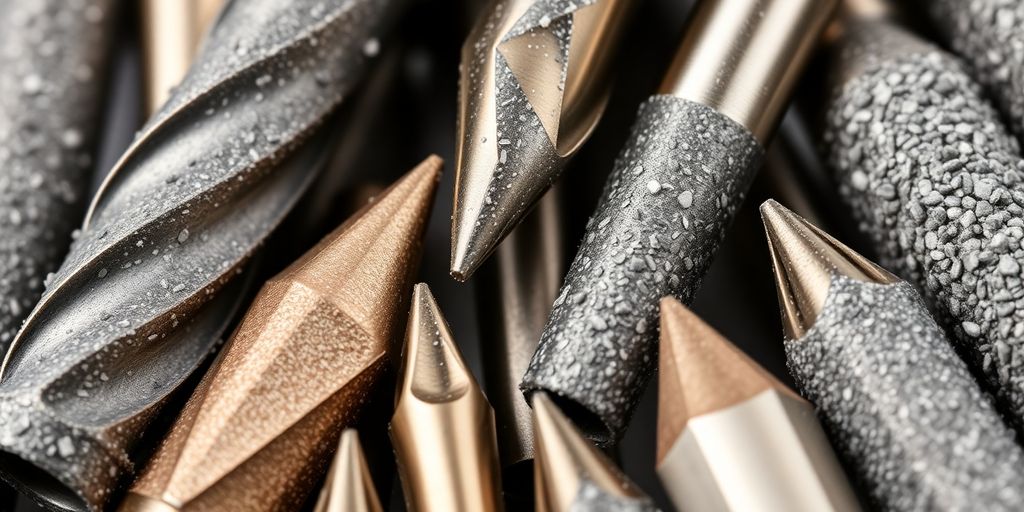
The Role of Material in Nail Drill Bits
Carbide vs. Ceramic
When it comes to nail drill bits, the material matters a lot. Carbide bits, like the LenaBits Carbide Nail Drill Bits CH50, are made from tungsten carbide, which makes them super tough and long-lasting. They’re perfect for heavy-duty tasks like shaping acrylic nails or removing gel polish. Carbide bits are also great because they stay sharp for a long time, cutting down on the need for frequent replacements.
On the other hand, ceramic bits are known for their heat resistance. This means they don’t get hot as quickly as other materials, making them ideal for longer sessions without discomfort. They offer a smooth finish, which is perfect for refining and polishing nails.
Benefits of Diamond Bits
Diamond bits are another popular choice, especially for detailed work. They come in various grit sizes, allowing for precise and delicate operations. These bits are excellent for working on tough spots, like cuticles, without harming the surrounding skin. Plus, they’re durable, which means they can last through many uses without losing effectiveness.
Understanding Mandrel and Sanding Bands
Mandrels and sanding bands are essential for both natural and artificial nails. Mandrels are usually made of metal or plastic and hold the sanding bands in place. When choosing a sanding band, it’s important to consider the grit size: coarse grits are great for heavy filing, while finer grits are better for finishing touches.
Choosing the right material for your nail drill bits can make your nail care routine much easier and more effective. It’s all about matching the bit to your specific needs and the task at hand.
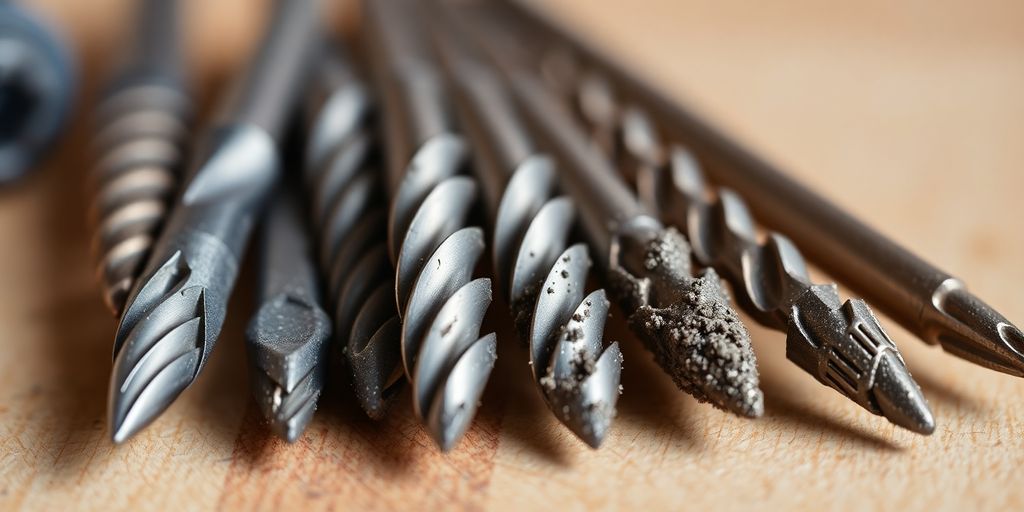
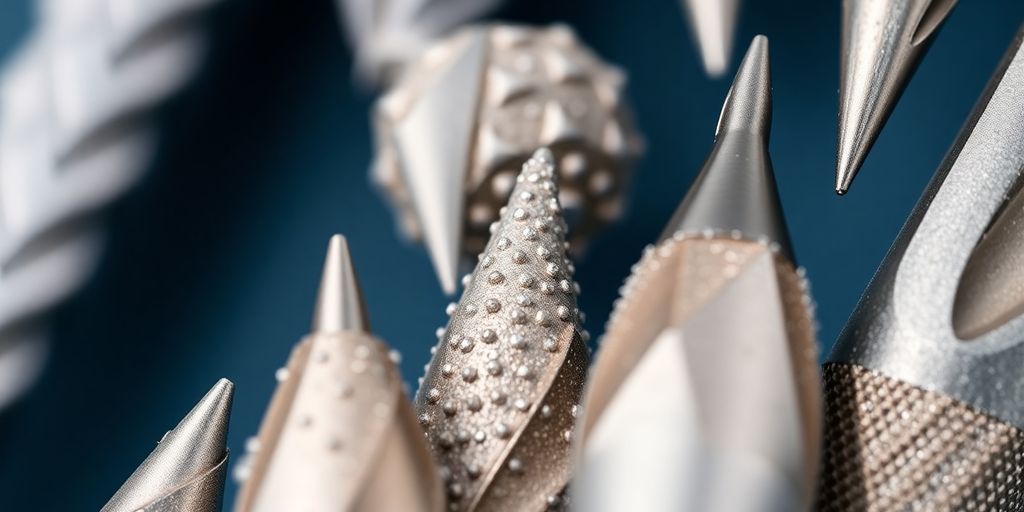
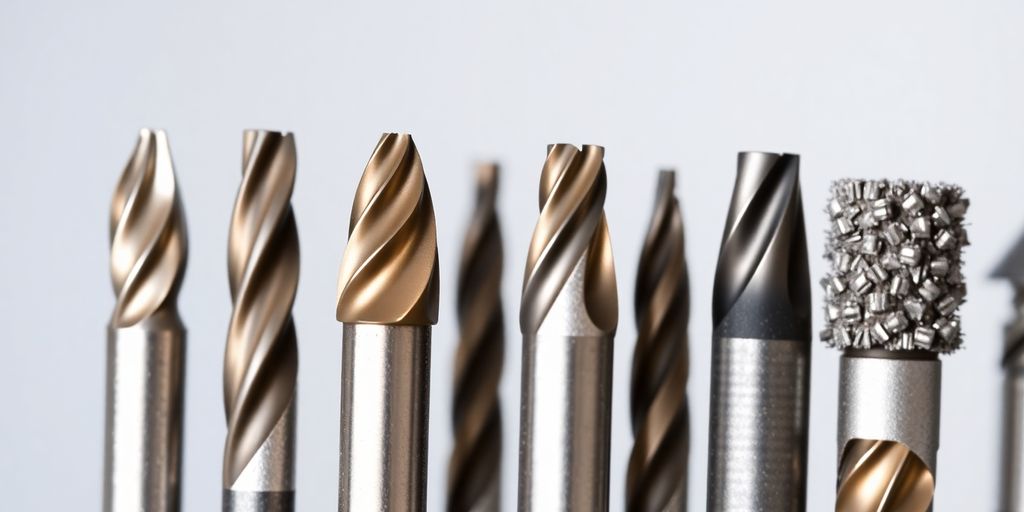
Different Shapes of Nail Drill Bits
When it comes to nail drill bits, the shape matters just as much as the grit size. Each shape serves a unique purpose, helping nail technicians achieve the desired results with precision and efficiency.
Barrel Bits for Shaping
Barrel bits are your go-to when you need to smooth and shorten nails, especially those made of acrylic or gel. Their cylindrical shape allows for even filing across the nail surface, making them ideal for prepping nails before applying polish or gel. Avoid using barrel bits near the cuticle area to prevent damage. If you’re looking for a reliable tool, consider the LenaBits Diamond Nail Drill Bits CH35, which offer a fine grit and barrel shape for precise filing and shaping.
Needle Bits for Precision
Needle bits are designed for tasks that require a high level of detail, like cleaning sidewalls or working around the cuticles. Their pointed tip allows for careful and precise work without harming the surrounding skin. Use these bits to access those tight spots that larger bits can’t reach, ensuring a clean and polished finish.
Cone Bits for Versatility
Cone bits are incredibly versatile. They have a pointed end that lets you work closely around the cuticle area and sidewalls. Perfect for removing product and shaping nails, these bits can also clean under the nail and tackle detailed work on toenails. Just remember to maintain a steady hand to avoid any slips.
Maintaining Your Nail Drill Bits
Cleaning and Sanitizing
Keeping your nail drill bits clean and sanitized is key to their longevity and performance. Regular cleaning prevents germs and debris from building up, which can damage nails during use. Here’s a simple routine to follow:
- Daily Cleaning: After each use, gently brush off any dust or debris with a soft brush or cloth. Soaking them in warm soapy water can help remove stubborn particles.
- Deep Sanitization: Occasionally, soak your bits in a suitable disinfectant solution to kill bacteria. Always check the manufacturer’s instructions for the correct soaking time to avoid damaging the material.
- Drying Techniques: Ensure all bits are completely dry before storing them to prevent rust or damage.
Proper Storage Techniques
Storing your nail drill bits correctly is just as important as cleaning them. Here are some tips:
- Use a dedicated nail bit holder or case to prevent them from knocking into each other.
- Store them in a cool, dry place away from direct sunlight.
- Label compartments if needed, so you can quickly find the specific types of bits.
When to Replace Your Bits
Knowing when to replace your nail drill bits is crucial for maintaining their effectiveness. Over time, bits can become dull or damaged, affecting their performance. Here’s when to consider buying new ones:
- If your bits start to wear out or don’t perform as well as they used to.
- When you notice any visible damage or rust.
- If you’re switching to different nail types or tasks that require a different grit size.
By following these maintenance tips, you’ll ensure your nail drill bits are always in top shape, ready to deliver the best results every time. Whether you’re doing DIY nail care at home or working professionally, maintaining your tools is essential for great outcomes.
Expert Tips for Nail Drill Bit Usage
Starting with the Basics
When you’re just starting out with nail drill bits, it’s smart to keep it simple. Begin with a basic set that covers most of your needs. This usually includes a few versatile bits that can handle a variety of tasks. As you get more comfortable, you can explore specialty bits designed for specific tasks. Starting with the basics helps you build confidence and understand how each bit works.
Avoiding Common Pitfalls
One common mistake is using a bit that’s too coarse on natural nails, which can lead to breakage. Always match the grit size to the type of nail you’re working on. Another pitfall is neglecting maintenance. Without proper cleaning and sanitizing, bits can become dull and less effective over time. Remember, a well-maintained bit not only performs better but also lasts longer.
Staying Informed on Best Practices
Staying updated with the latest tips and techniques is key. Join forums or groups where nail care enthusiasts and professionals share their experiences. This is a great way to learn about new products and techniques, like the latest diamond nail drill bits that offer precision and durability for both manicures and pedicures. Additionally, consider exploring resources on carbide nail drill bits for efficient nail surface refinement. Keeping informed ensures you’re using the best tools and methods for your nail care routine.
Keeping your nail drill bits in top shape is all about routine care and staying curious about new trends. The more you know, the better your results will be. With the right approach, your nail care game will be strong and safe.
The Importance of Quality in Nail Drill Bits
Why Quality Matters
When it comes to nail drill bits, quality is key. High-quality bits aren’t just about longevity; they also ensure smoother, more precise results. Using cheap, low-grade bits might seem like a cost-saving move, but they often wear out quickly and can damage nails due to uneven performance. Investing in top-tier bits means fewer replacements and better outcomes for both professionals and DIY enthusiasts.
Identifying High-Quality Bits
Spotting a high-quality nail drill bit isn’t always straightforward, but there are a few telltale signs. Look for bits made from durable materials like carbide or diamond, known for their strength and resilience. These materials not only last longer but also maintain their sharpness over time. Also, check the finish; a smooth, well-crafted bit indicates attention to detail in manufacturing. Consider brands that specialize in high-quality nail drill bits for processing gel, acrylic, and natural nails.
Long-Term Benefits of Investing in Quality
Opting for high-quality drill bits offers several long-term advantages. Firstly, they provide consistent performance, which is crucial for maintaining the health of your nails. Secondly, they reduce the risk of accidents, as they are less likely to break or malfunction mid-use. Lastly, while the initial cost might be higher, the durability and effectiveness of quality bits can lead to savings over time. For those serious about nail care, choosing quality is a wise investment.
Safety Considerations with Nail Drill Bits
Choosing Safe Bit Types
When you’re picking out nail drill bits, safety should be at the top of your list. Always go for bits that are designed with safety in mind. For beginners, bits with rounded edges, often called safety bits, are a great choice. They help prevent accidental cuts and nicks. If you’re working with sensitive areas like cuticles, consider using bits that offer precision without sharp edges.
Using Bits Correctly
Using your nail drill bits correctly is just as important as choosing the right ones. Start by familiarizing yourself with the drill’s speed settings. Begin with a lower speed for delicate work and gradually increase as needed. It’s crucial not to apply too much pressure; let the drill do the work. Also, ensure that the bit is securely attached to avoid any mishaps.
Protecting Your Clients
As a nail technician, your clients’ safety is your responsibility. Regular maintenance of your tools, including cleaning and sanitizing, is essential to prevent infections. Make sure to educate your clients on post-care procedures to avoid any issues after their appointment. Using high-quality bits like the LenaBits Carbide Nail Drill Bits CH47 can also add an extra layer of safety, as they are designed for precision and durability.
Safety doesn’t just happen; it’s something you actively create by choosing the right tools and using them wisely. In nail care, this means selecting the appropriate bits, maintaining your equipment, and being mindful of how you use your tools.
Innovations in Nail Drill Bit Technology
New Materials and Designs
Nail drill bits are seeing some cool updates in materials and designs. Diamond bits, like those offered by Lena Bits Corporation, are becoming popular for their precision and long-lasting performance. These bits are great for reaching tricky spots and are perfect for both pros and DIY fans. Plus, new materials like ceramic are getting attention for their heat resistance and smooth finish.
Advancements in Grit Technology
Grit technology is also evolving, offering more choices for nail techs. With improved grit sizes, you can now match the exact texture needed for any task. This means better control whether you’re smoothing a surface or removing product buildup. The versatility in grit options allows for more customized nail care, enhancing both efficiency and results.
Future Trends in Nail Care Tools
Looking ahead, we can expect even more exciting developments in nail care tools. Innovations might include bits that combine multiple functions, reducing the need for tool changes. Additionally, eco-friendly materials could become standard, reflecting a growing trend towards sustainability in beauty products. As these technologies advance, the way we approach nail care is bound to change, making it easier and more efficient for everyone involved.
Nail drill bits have come a long way, making nail care easier and more effective. With new designs and materials, these tools help achieve perfect nails faster than ever. If you’re looking to upgrade your nail game, check out our latest collection of nail drill bits at LenaBits!
Wrapping It Up: Why Grit Size Matters
So, there you have it. Grit size in nail drill bits isn’t just a minor detail; it’s a game-changer. Whether you’re smoothing out natural nails or tackling tough acrylics, picking the right grit can make all the difference. It’s like choosing the right tool for the job—get it wrong, and you might end up with a mess. But get it right, and everything just clicks. So next time you’re shopping for drill bits, take a moment to think about what you really need. Your nails will thank you for it, and you’ll probably save yourself some headaches down the line. Happy drilling!
Frequently Asked Questions
What does grit size mean in nail drill bits?
Grit size refers to the roughness of the nail drill bit. The lower the grit number, the coarser the bit, which is good for removing lots of material. Higher grit numbers mean a finer bit, which is better for smoothing and finishing.
Why is choosing the right grit size important?
Picking the right grit size helps you do your nail tasks more efficiently and safely. Using the wrong grit can damage nails or not work well for the job you are doing.
How do I match grit size to different nail types?
For natural nails, use finer grits like 240 to avoid damage. For artificial nails, coarser grits like 80 are better for shaping and removal.
What are the different materials used in nail drill bits?
Nail drill bits are often made from carbide, ceramic, or diamond. Each material has its own benefits, like durability or heat resistance.
How do I clean and store my nail drill bits?
Clean your bits after each use with a brush and disinfectant. Store them in a dry, safe place to keep them in good condition.
When should I replace my nail drill bits?
Replace your bits every few months or when they become dull and don’t work as well. Regular replacement keeps your nail work effective.
What safety tips should I follow when using nail drill bits?
Always use the right bit for the job, follow the drill’s instructions, and go slowly to avoid accidents. Practice makes perfect!
What are the new innovations in nail drill bit technology?
Recent innovations include new materials that last longer and designs that work better. These advancements help make nail care easier and more effective.